
The part nobody explains
How firingworks.
Several visits, not one. You make it, it dries, it is fired, you glaze it, it is fired again. Most of that is waiting, and none of it is optional.
Start to finish
Six stages, and
a lot of waiting.
The timings on each stage below are the standard ranges for a stoneware studio. How long the whole thing takes depends on the kiln schedule, and your class will tell you when to come back for your piece.
-
 1
1
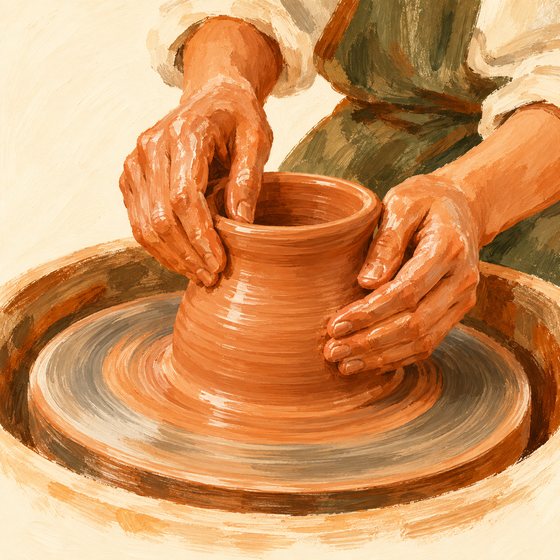
You make it
Your class
Two hours at the wheel or the table. The clay is soft, heavy with water, and completely forgiving. Anything you dislike goes back in the bucket and you start again.
-
 2
2
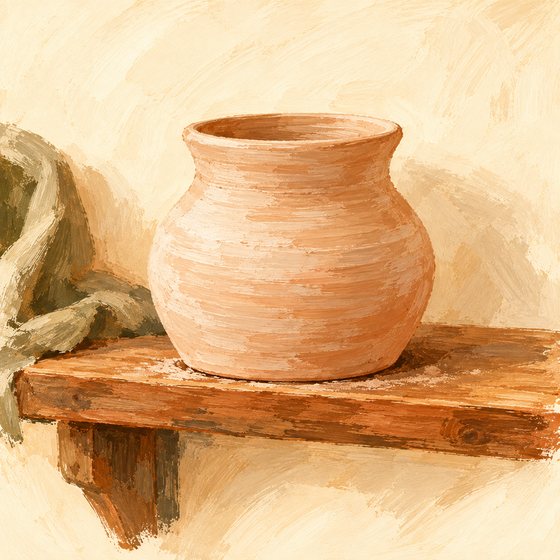
It dries
1 to 2 weeks
Wet clay cannot be fired. Water turns to steam in the kiln and the piece bursts. So it sits on a shelf and gives up its water slowly, going pale and chalky and startlingly fragile.
-
 3
3
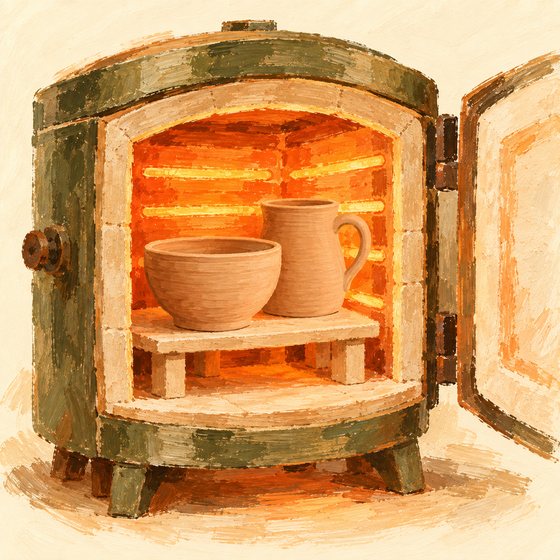
First firing
About 10 hours, then a day to cool
The bisque firing. The kiln climbs slowly and the clay stops being clay: the chemistry changes and it can never be softened again. It comes out hard, porous and ready to take glaze.
-
 4
4
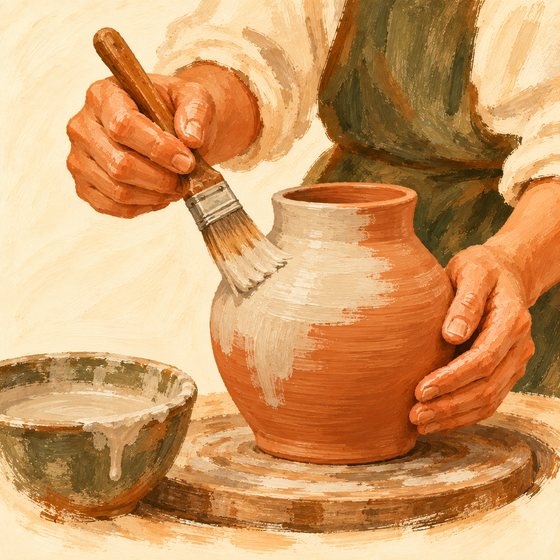
You glaze it
A second visit
Glaze goes on like thin chalky paint and looks nothing like the finished color. The green you want is a dusty pink in the bucket. This is the part that takes nerve.
-
 5
5
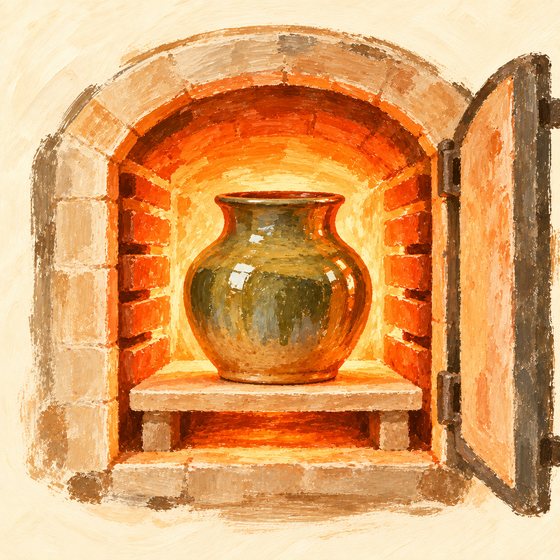
Second firing
About 12 hours, then a day to cool
The glaze firing, hotter than the first. The glaze melts to glass and fuses to the pot. It runs, it pools in the low places, and it thins to a paler color over every edge.
-
 6
6
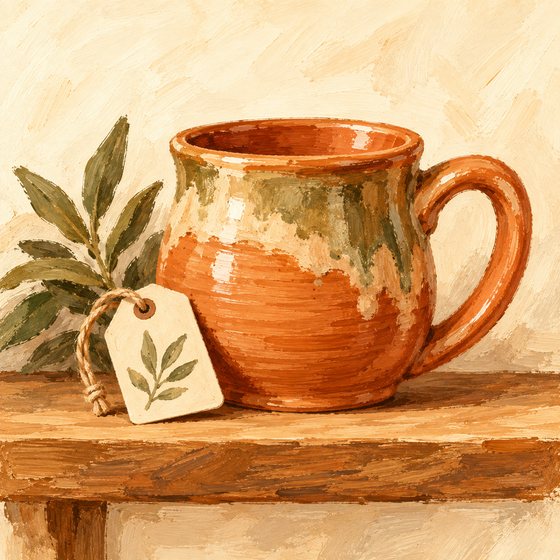
It is yours
We will tell you
Out of the kiln, cooled, and waiting on the shelf with your name on it. Waterproof, food safe and genuinely permanent. People are still eating off pots made this way nine thousand years ago.
Timings are the standard ranges for a cone 6 stoneware studio.
Glazing
Nobody knows until
it comes out.
A glaze goes on looking like chalky paint and comes out looking like something else entirely. That is true of every glaze in every studio, which is why potters keep a board of small fired tiles: it is the only honest record of what each one actually does.
These are common stoneware glazes, shown to give you the idea. They are not Wellsburg's list. The studio's own range goes here once it is settled, and in the meantime ask on the night and somebody will get the real tiles out.
-
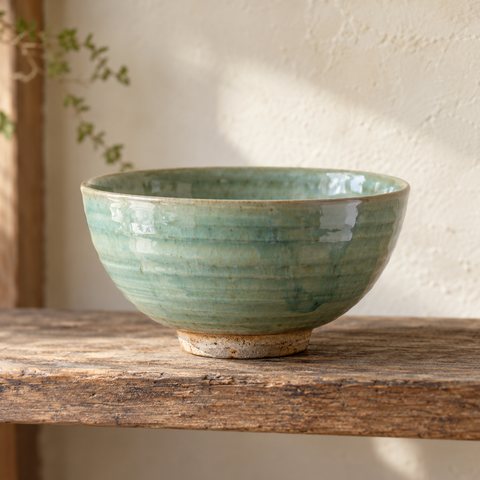
Celadon
A pale blue-green that goes almost clear where it runs thin, and pools deep in every carved line. The oldest trick in the book: it shows your throwing rings rather than hiding them.
-
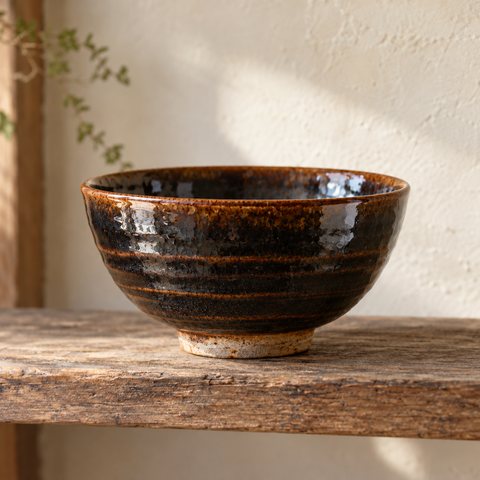
Tenmoku
Near-black and glossy in the middle, breaking to a hot rust brown on every rim and edge. Iron doing what iron does. Unforgiving of a sloppy foot ring.
-
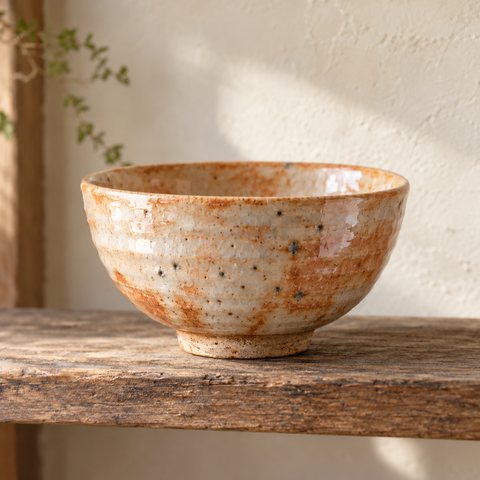
Shino
Warm orange and white, often with dark pinholes where carbon got trapped on the way up. No two firings give you quite the same one, which is the point.
-
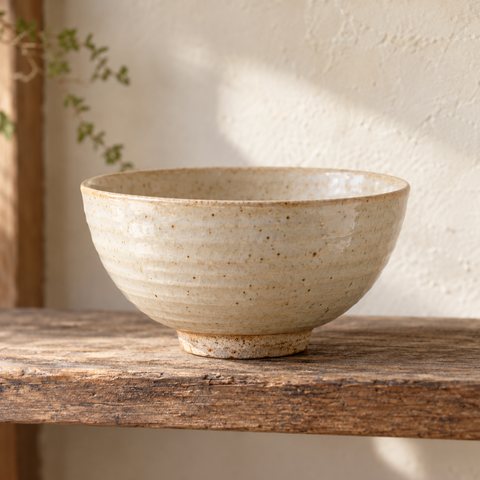
Oatmeal
A soft speckled cream, matte to the hand. The one people reach for when they want the pot to look like a pot and not like a decision.
-
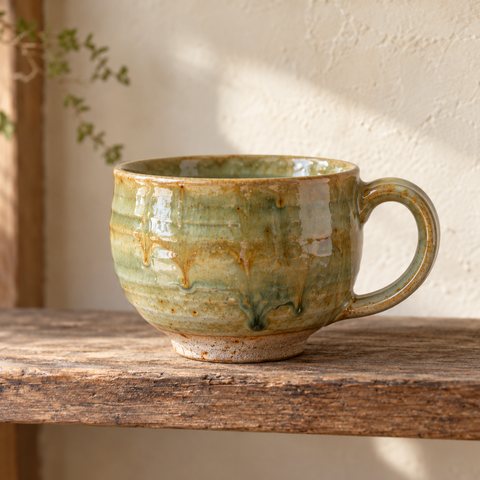
Ash
Honey-green and runny. It moves in the kiln, so it goes on thin near the foot or it welds your mug to the shelf. Worth the risk.
-
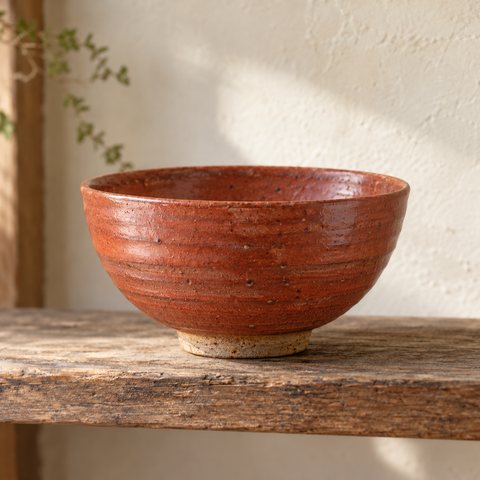
Iron red
A dry brick red that wants to be layered under or over something glossier. On its own it is quiet; over tenmoku it is not.
-
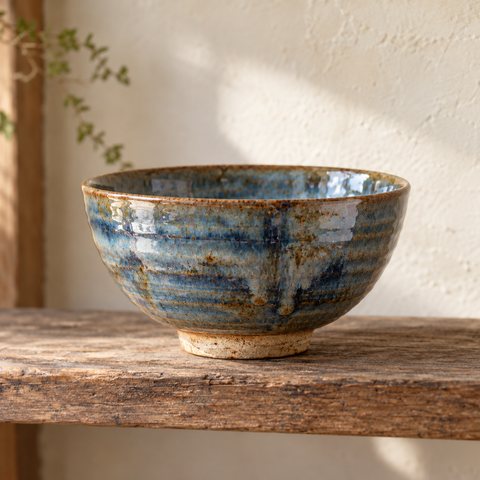
Rutile blue
Streaked and variegated, blue over brown, never flat. It rewards a thick application and a slow cool.
-
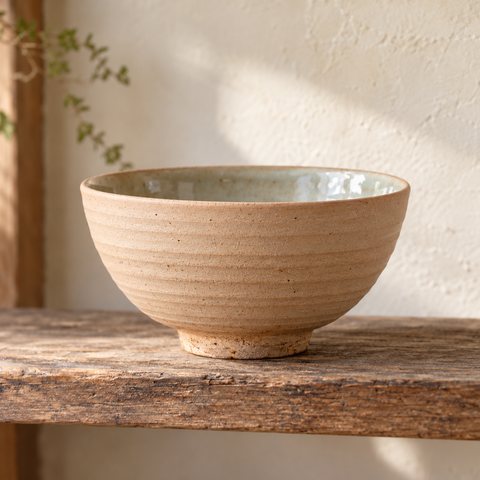
Bare clay
Not every surface needs glaze. Sanded bisque on the outside and a glazed interior is a legitimate finish and it feels wonderful.
Still sounds
like magic?
It half is. Come and watch a kiln come out, and you will never look at a mug the same way.